“3-D” Shadow Tip
Just an easy way to make “3-D” shadows unlike regular drop shadows that don’t connect the vertices of the letters/objects.
Materials: Illustrator CS3/4/5 Blend-Tool
Steps: Follow instructions and click the pictures for reference.
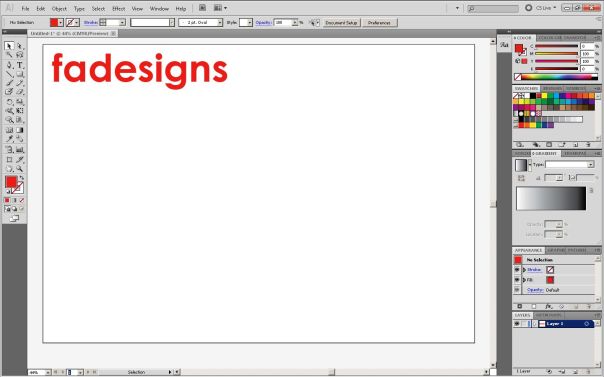
1. Create some text using the Text-tool. Write anything you want, I used FaDesigns.
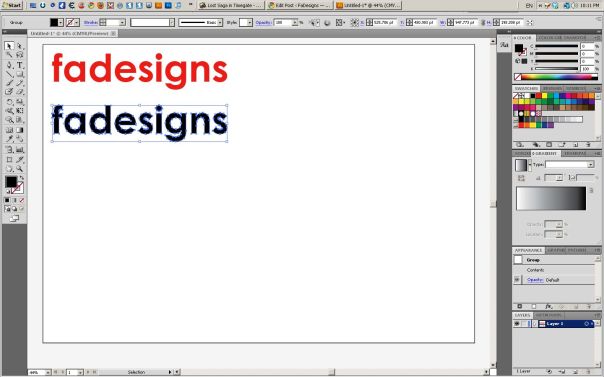
2. Click the text and hold (PC: Shift+Alt,Mac: Option+Alt) to drag a copy. Set it down anywhere, I prefer at the bottom of it. Also, let’s change it’s color to black.
3. Right click the copied-text and choose Create Outlines.
4. Drag another copy, preferably, diagonally to it.
5. Get the Blend-Tool and click one of the black text then the other.
6. Double click the Blend-Tool in the Tool-box. Now a window should pop out. Set the spacing to specified steps. Then set the steps to about 20. The larger the number, the smoother the blend, the more work for the computer to process. So 20 is about good enough for blends like these.
7. We’re not done yet. Right click the blended text(“3-D shadow) and choose Arrange>Send to Back (PC: Shift+Ctrl+[ , Mac: Cmd + Shft + [ ).
8. Now drag the shadow over(under) the original text and you got yourself a cool effect. Try this fun experiment yourself!
Posted on September 3, 2010, in Adobe, Blend Tool, CS5, Text, Tutorials and tagged 3-D Shadows, Illustrator. Bookmark the permalink. Leave a comment.


Leave a comment
Comments 0